Category: Irrigation & Drainage

Categories Irrigation & Drainage Landscaping Lawn Maintenance

Watering Guidelines for Katy/Cypress/Fulshear/Houston and Surrounding Areas

Lawn Watering Guidelines

Proper watering is critical to your lawn’s health and vigor. Deep and infrequent watering is the best practice. This means wetting the soil to a depth of 3‐5 inches per irrigation. This equates to ½” of irrigation at a time.

Water during the morning rather than in the afternoon or evening; this allows the leaf blades to dry and reduces the risk of disease.  Do not water every day or two. Frequent, short watering encourages shallow roots, unhealthy grass plants and turf susceptible to drought and disease.

Let the turf determine watering frequency. Since heat, humidity, and rainfall can vary, it’s best to water at the first signs of stress, not on a predetermined schedule. As a note,  St. Augustine turf has poor drought tolerance and requires irrigation to survive during our long hot summers where Bermuda grasses are very draught tolerant and require less frequent irrigation but much deeper irrigation cycles.

Here are some guidelines and general tips to keep in mind when preparing your watering schedule. Each lawn and landscape is different and you should always check local weather conditions when planning.

Summer Months / Dry Periods

(Normally June through mid to late September)

 Early morning (5am to 10am)

 It is best to water deeply, less frequently. Consult the temperature guide below.

 Most lawns require 1″ to 1.25″ of water per week, split over several days.

Winter Months / Rainy Periods

(Normally November to February and May to June)

Water only during the daytime hours. Avoid water overnight.

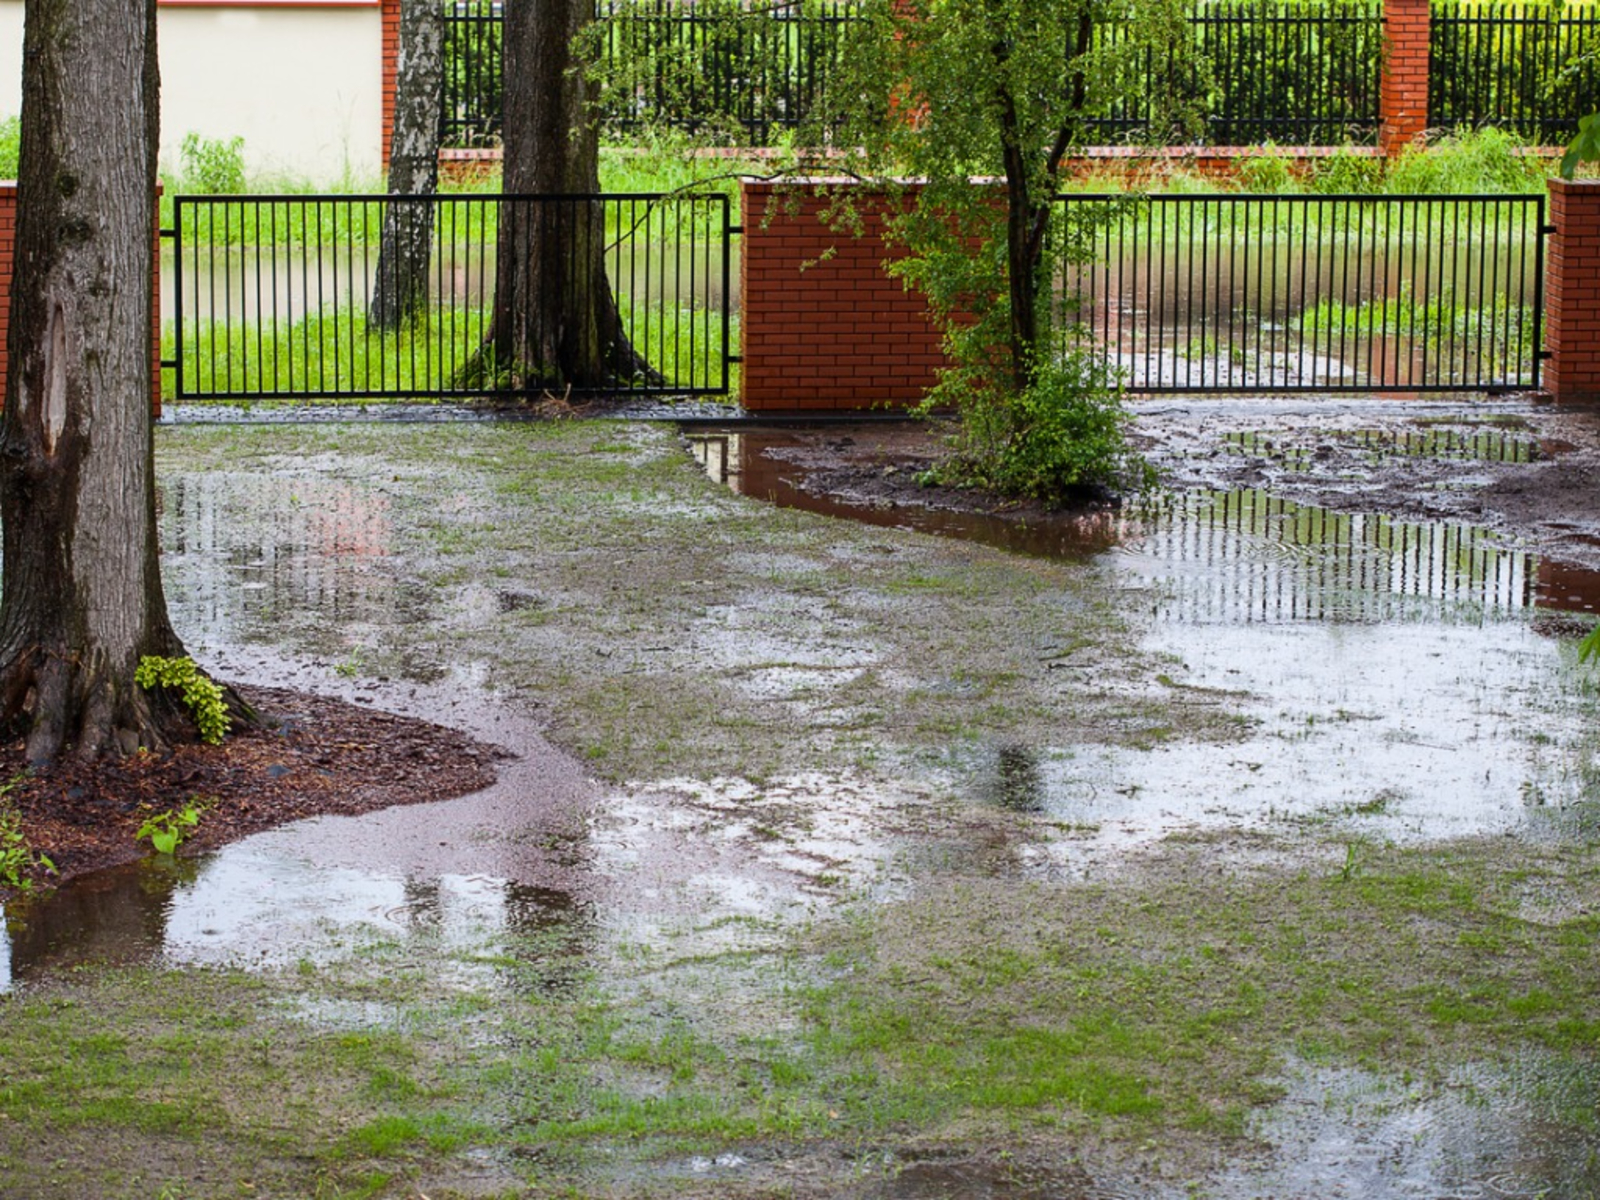
If there is no rain for weeks, use manual cycle and water as needed (no more than once every 1-2 weeks).

Your run times should be adjusted based on how dry your yard is. Winter watering should have run times 50% less than your summer run schedule.

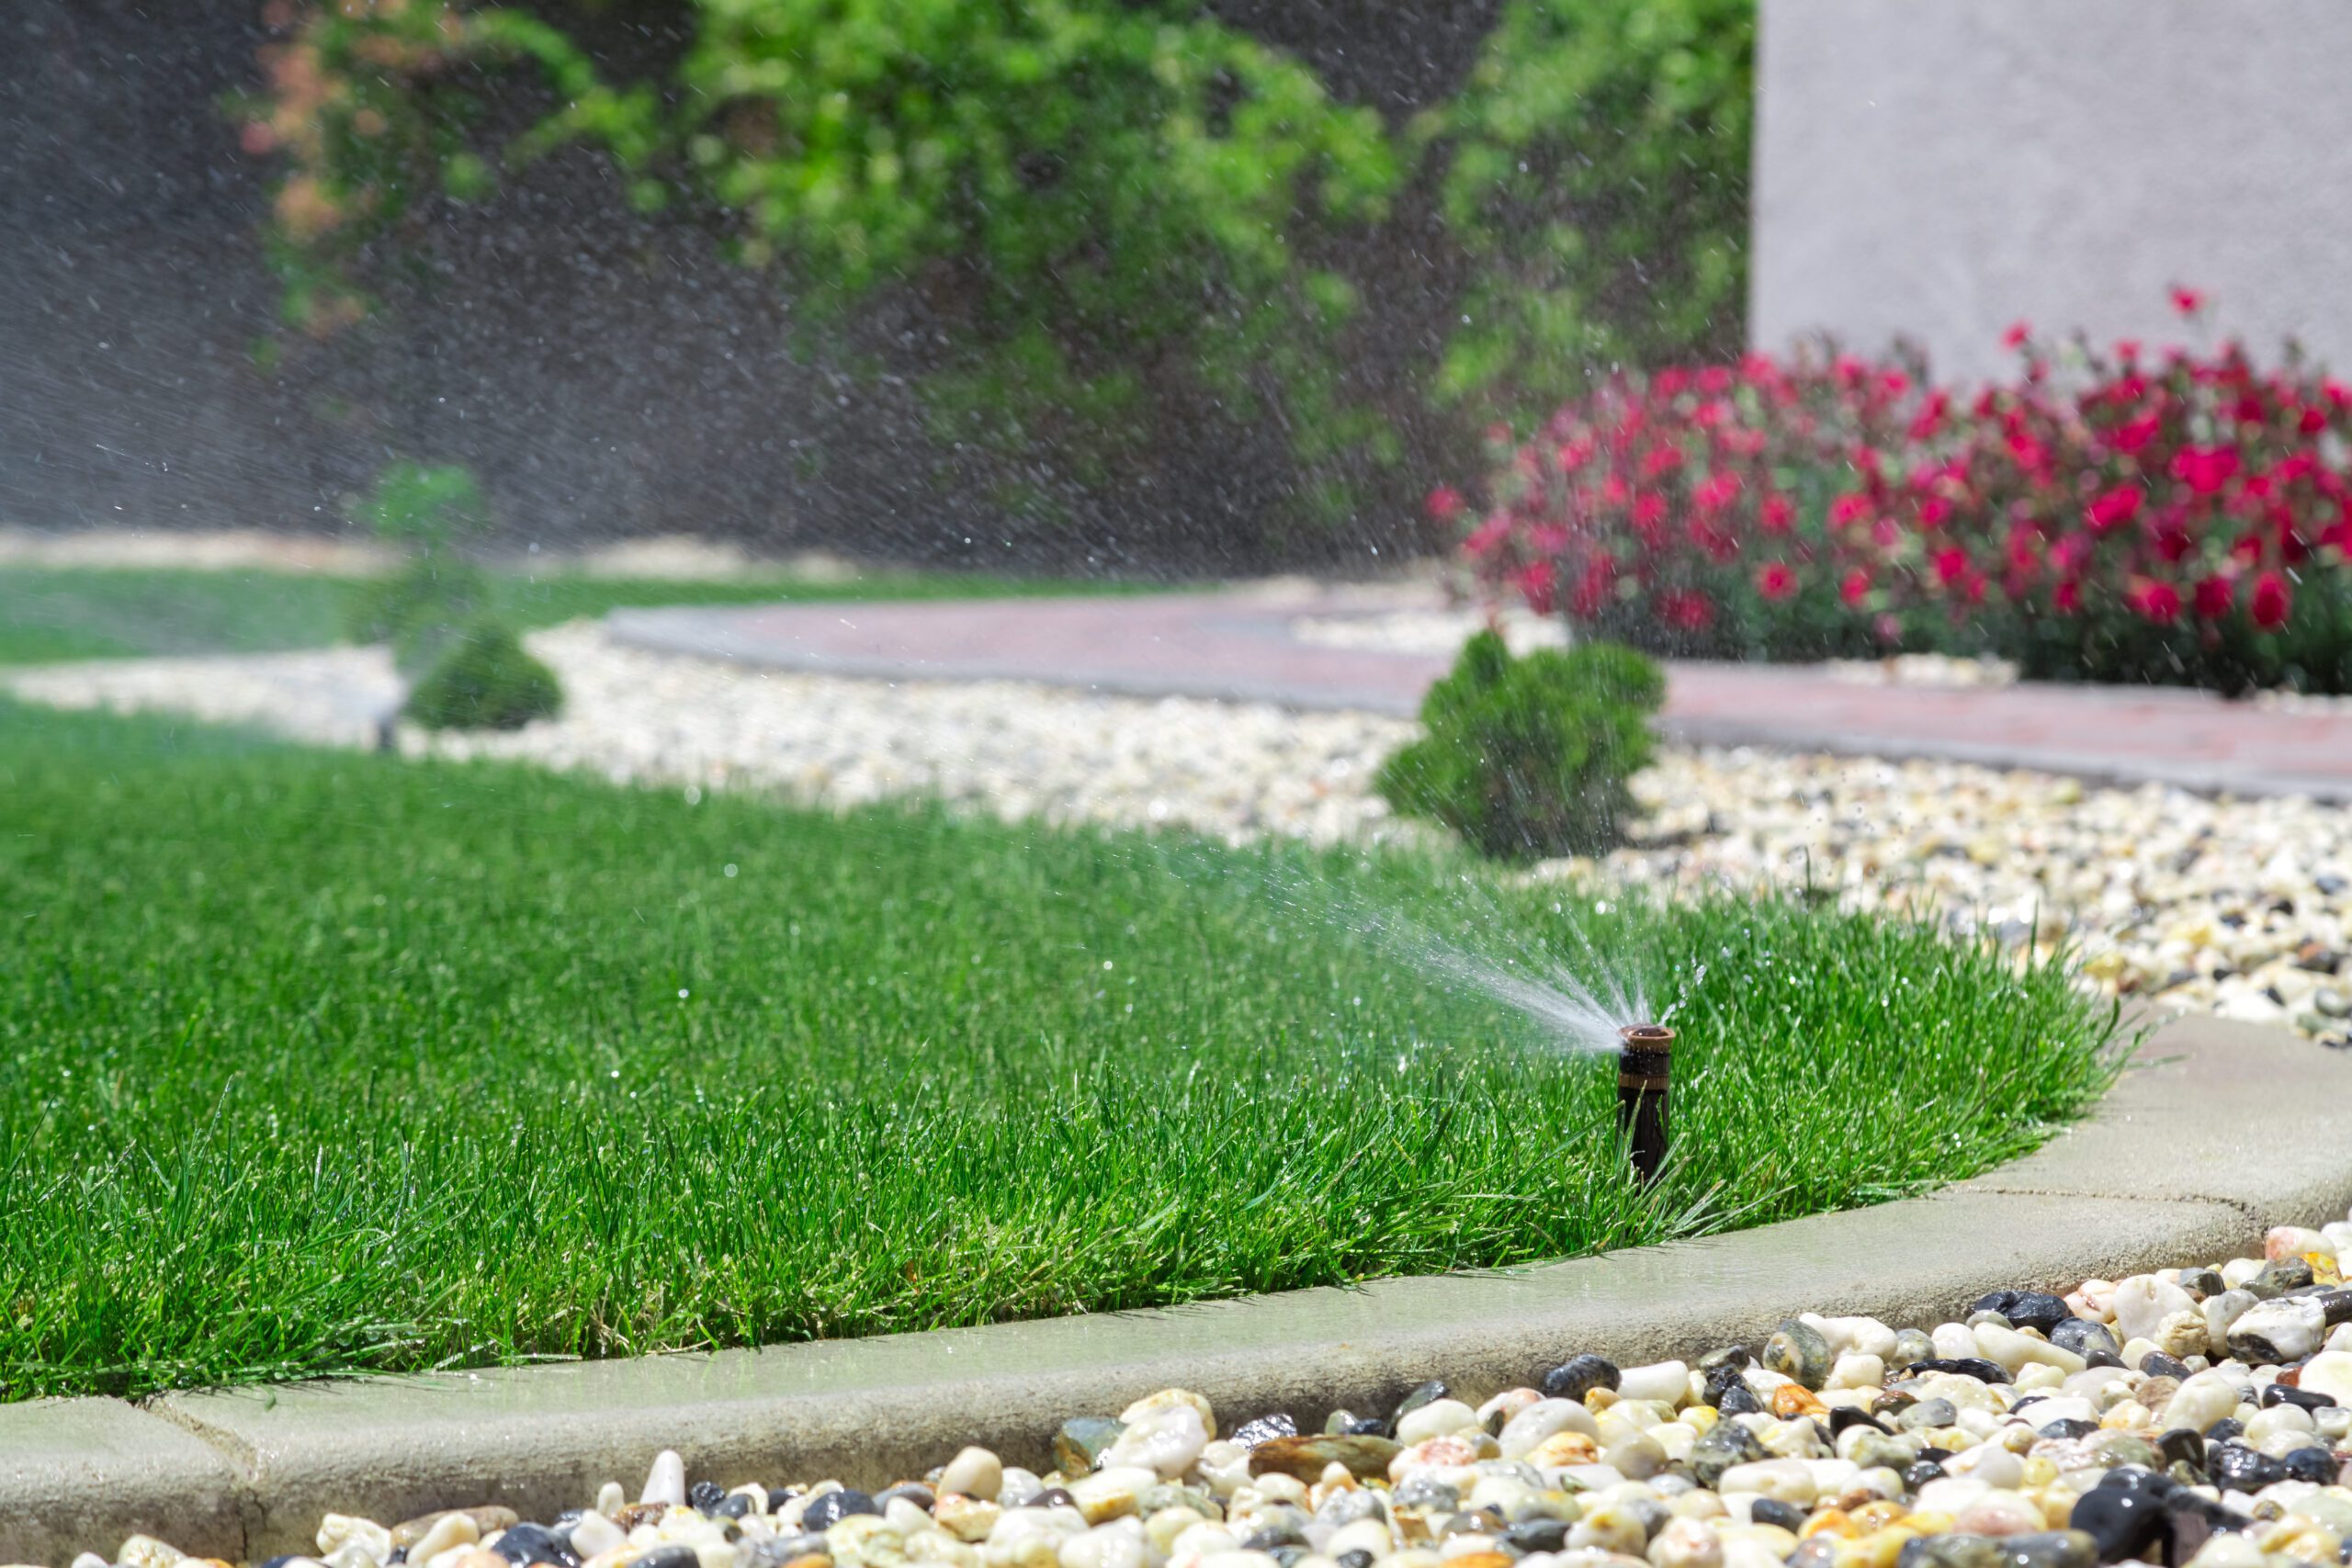
Irrigation spray head averages
Head typeMinutes per weekAmount of water
Pop-up spray head25-35 minutes1″
Rotary spray head50-70 minutes1″
Overall Temperature Guide
TemperatureFrequency of water
60° FEvery 7 – 10 days
70° FEvery 6 days
80° FEvery 5 days
90° FEvery 4 days
Over 95° FEvery 3 days

General Watering Guidelines:

January & February

Late Winter/Early Spring – Rainfall is usually adequate. Water if no rainfall for four weeks.

March, April & May

Water only once per week in the spring, if less than one inch of rainfall occurs.

June – Early September

During the summer, water each section heavily at least twice a week if less than one inch rainfall.

Late September – October

Early Fall is Brown Patch Season and excess water triggers this disease. During September water only once per week if no rainfall and every two weeks in October if no rain.

November & December

In late fall/early winter, rainfall is usually adequate. Water if no rainfall for four weeks

Tip for New Flowers

Water newer flowers 3 to 4 times per week for no more than 5 minutes.

Tip for New Trees

Water newer trees using soaker hoses or direct hose drips once every couple of weeks.

Categories Irrigation & Drainage Landscaping Lawn Maintenance

How to Get Your Yard to Drain

If your yard looks like the below photos after a heavy rain or multiple uses of your irrigation system, your yard has a problem draining properly. Standing water in your yard is not only visually unappealing but can create the perfect environment for unwanted guests like mosquitos.

But How do you fix it?

Wet spots in your yard are a nuisance and an eyesore. Grass will die if it’s underwater for too long. You can’t mow over wet areas, and everyone tracks mud into the house. So what’s the fix? Here’s some tips to help your yard drain properly.

Extend the Downspout 

Landscaping near the house can create a basin for water. Extending the downspout usually solves the problem.

Gutters 

Roof gutters can divert water very efficiently. Make sure gutters are installed around the perimeter of your home to divert the water away from your yard and to the street.

Yard Reshaping

The slope of your yard should angle away from your home to keep water directed towards the street and not your foundation. If the grade of your yard is not going in the right direction, reshaping may be in order.

Top Dressing

Top dressing is a simple method to fix shallow depressions in your yard that collect water following a heavy rain. This method evens out low areas using layers of soil applied over existing grass. Apply a layer of soil to your lawn, 1/4 to 1/2 of inch thick, every eight to 12 weeks. Use dry soil and spread it evenly over the depression with a drop spreader or shovel.

If you have tried the above recommendations and are still having wet spots or standing water, you may need to look at a drainage system including box drains. Box drains are placed in low areas of your yard to help pull water out of your lawn and direct it to the street.

Still having issues getting your yard to drain? Give us a call!
Categories Irrigation & Drainage Landscaping Lawn Maintenance

Prepare Your PVB and Pipes For A Freeze

Cold weather is on the way! Freezing temperatures don’t happen too often in Houston, but when they do, it’s important to prepare! Taking the time to prepare your yard for the freeze could save you hundreds of dollars on burst pipes and plant replacement.

PREPARE YOUR SPRINKLER SYSTEM

Our irrigation systems are simply not made to withstand multiple days below freezing-however by properly draining your back flow and depressurizing the sprinkler lines, we can limit the damage. There are so many variables that can cause one residents irrigation to freeze and the next door neighbors not to freeze, the biggest being is your backflow preventer (the bell on the side of your home) being exposed to the north.

Take these steps to properly winterize your irrigation system: 

Turn off the shut-off valve

On most residential backflow devices, there are two shut-off valves. These are typically covered in blue rubber and are located before and after the actual backflow device.

Release the water pressure

Now that you have shut off the water valve, you must release the water that is in the device so that it doesn’t expand when it freezes and crack the device. With a flat head screwdriver, loosen the two bleeder valves (#3 and #4 as illustrated). The bleeder valves are usually located just under the plastic top of the backflow. Sometimes, they have rubber inserts you have to remove before you can see the flathead screw. When opening these, be aware that the water will spew out for a few seconds and your hands will get wet.  NOTE: If the water doesn’t stop spitting out after a couple minutes, you haven’t fully turned off the water in step 1.

Leave the smaller bleeder valves open

This will allow the water to expand and freeze without being hindered and causing damage.

Insulate your Backflow

At almost all home improvements stores, they carry backflow preventer insulation materials.
WRAP YOUR EXPOSED HOSE BIBS & PIPES

Frozen pipes are one of the biggest property damage risks when the temperature drops. When water freezes inside a pipe, it expands and can burst pipes and cause extensive damage.

Use these tips to prevent your pipes from freezing:

Drain water from garden hoses

The water inside a garden hose can freeze and back up into the spigot until it reaches your pipes.

Protect Hose Bibs

Wrap exposed hose bibs (or pipe) with insulators like a foam pipe sleeve or a outdoor sock faucet cover.